Booking your VicRoads driving test is the easy part. Knowing what you’re actually walking into at your chosen test centre is what separates a calm, confident test day from a stressful one. Every Melbourne suburb with a licence testing centre has its own road character — some are dominated by tram tracks and tight inner-city intersections, others by wide estate roads and roundabouts, and a few throw in hills, school zones, or unpredictable peak-hour traffic.
This guide breaks down what to expect at the test centres our learners use most across Melbourne’s west and northwest, suburb by suburb, so you can prepare for the roads you’ll actually be assessed on — not just the test itself.

List of Test Centres With Practical Tips Per Site
Sunshine
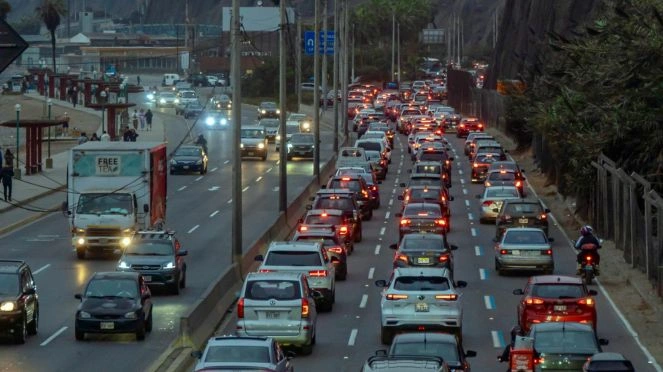
The Sunshine test centre serves one of the busiest catchments in Melbourne’s west, covering St Albans, Deer Park, Albion, and the surrounding suburbs. Routes typically combine Ballarat Road’s heavier arterial traffic with quieter residential streets branching off it, so you’ll need to be comfortable switching between higher-speed lane changes and slower, tighter suburban driving within the same test.
Because Sunshine is a major shopping and transport hub, expect more pedestrian activity near the centre itself, particularly around school pick-up and drop-off times. If your test falls during these windows, brush up on school zone rules — speeding through a 40km/h zone is one of the more common reasons learners fail at this centre.
Werribee
Werribee is generally considered one of the more manageable test centres in the western suburbs, which is partly why it’s a popular choice for learners from Werribee, Point Cook, Tarneit, and Hoppers Crossing. Routes often blend established arterials like Princes Highway with newer estate streets, and you can expect to encounter give-way intersections, pedestrian crossings, and school zones depending on your appointment time.
Don’t let the “easier” reputation lower your guard. Assessors are still checking the same fundamentals — observation, speed control, and lane discipline — just on slightly more forgiving roads. If you want a deeper breakdown of this corridor, our guide to VicRoads test routes in Western Melbourne covers Werribee in more detail.
Hoppers Crossing
Hoppers Crossing draws heavily from Wyndham’s growth corridor and tends to feature wider, more modern suburban roads with clear lane markings — a good option if you’re confident in open suburban driving but less comfortable in dense traffic. That said, routes here often dip into Princes Highway and 80km/h zones, so speed management on faster roads still gets tested.
Footscray
Footscray is one of the more demanding inner-west test environments. Tram lines, busy signalised intersections, and a high volume of cyclists and pedestrians around Barkly Street and Ballarat Road mean you’ll need sharper observation habits than at the outer suburban centres. If most of your practice has been on quieter roads, it’s worth booking a few lessons specifically in this area before test day.
Point Cook / Williams Landing Corridor
As this corridor has grown, more learners are being directed here for testing. Routes mix wide, predictable estate roads with busier connecting arterials near the railway precinct. The estate roads can be deceptive—wide lanes and roundabouts in newer suburbs still demand careful observation, correct lane positioning, and proper give-way behaviour at T-intersections.
Deer Park
Deer Park records solid pass rates among western suburb centres, with routes covering residential streets, an industrial stretch along Robinsons Road, and a faster 70km/h section on Mt Derrimut Road. The most common trap here is misjudging the speed limit immediately around the centre — many learners assume 60km/h when it’s actually 50km/h in the built-up area. The intersection near the M80 freeway overpass is also worth practising in advance.
Broadmeadows and Coolaroo
For learners in the north, Broadmeadows and Coolaroo are the most common centres. Coolaroo is known for a busy two-lane roundabout that features on most test routes — get comfortable with it and you’re in good shape. Both centres include sections of Pascoe Vale Road with shifting speed limits, so pay close attention to signage changes rather than relying on memory of the road.
Parking & Approach Tips
Arriving flustered after a parking scramble is an easy way to start your test on the back foot, so build in extra time at every centre.
- Sunshine: The area around the centre is busy with shopping centre traffic and two nearby train stations, so street parking fills quickly. Arrive at least 20–30 minutes early and have a backup parking option in mind.
- Werribee and Hoppers Crossing: Generally more straightforward, with more on-site or nearby street parking, but allow extra time during school hours when nearby roads get congested.
- Footscray: Limited and often metered street parking, plus tram and pedestrian activity right outside. If you’re being dropped off, factor in a slower approach due to traffic density.
- Deer Park, Broadmeadows, and Coolaroo: Parking is usually easier, but double-check the specific entry point for your test car — some centres have separate entries for testing vehicles versus general customer parking.
Whichever centre you’re using, do a practice run beforehand. Knowing exactly where to park and which door to walk through removes one more variable on test day.
Common Examiner Routes
While VicRoads doesn’t publish fixed routes and examiners can vary them between sessions, each centre has a recognisable pattern shaped by the surrounding road network:
- Sunshine and Footscray routes rely on arterial roads (Ballarat Road, Barkly Street) alongside tighter residential streets — expect more signalised intersections and tram interactions.
- Werribee, Hoppers Crossing, and Point Cook routes tend to favour modern estate roads, roundabouts, and sections of Princes Highway, with an emphasis on lane discipline at multi-lane merges.
- Deer Park routes typically run through residential streets before opening onto Mt Derrimut Road, testing your ability to transition between speed zones smoothly.
- Broadmeadows and Coolaroo routes frequently include Pascoe Vale Road and at least one significant roundabout, as well as permanent 40km/h residential zones.
Across all centres, the most consistent theme is the transition between zones — residential to arterial, 50km/h to 80km/h, quiet street to roundabout. Examiners pay close attention to how smoothly and safely you manage these shifts, not just whether you can drive in a straight line.
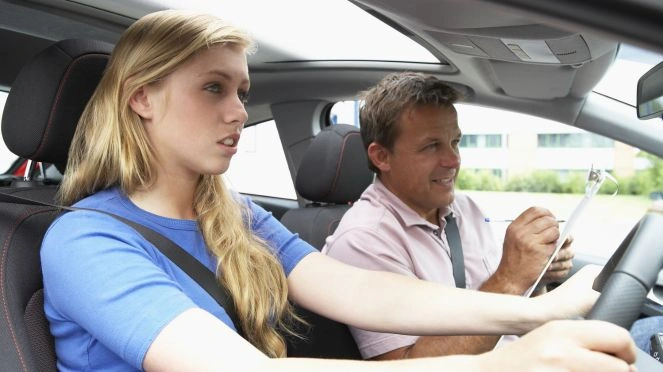
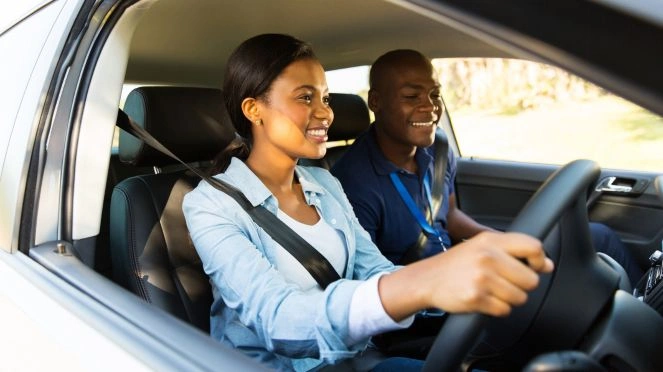
Local Instructor Suggestions
Generic driving lessons only get you so far — the real advantage comes from practising the actual roads your test centre uses. A local instructor who tests regularly in your area will already know the intersections, roundabouts, and speed zone changes that tend to catch learners out.
If you’re preparing for a test in the western suburbs, our VicRoads test prep lessons are built specifically around what examiners assess at local centres, and our pass-first-time lessons focus on tightening up the habits that most commonly cost learners points. For those who’d prefer a female instructor while training on these routes, we offer dedicated lessons in Werribee, Hoppers Crossing, Point Cook, Footscray, and Sunshine.
If you’re not quite sure how ready you are yet, it’s worth reading our post on the 5 signs you’re ready for your driving test before locking in a date. And if you want the full picture on Western Melbourne specifically, our dedicated guides — Top 5 VicRoads Test Centres in Western Melbourne and Easiest VicRoads Test Routes for Beginners — go even deeper on route-by-route preparation.
Booking your test at the right centre, with the right local preparation behind you, makes a meaningful difference. If you’d like help structuring a few lessons specifically around your test centre’s routes, get in touch, and we’ll point you in the right direction.